Upcycling second-hand furniture is a cost-effective way to breathe new life into old pieces while reducing waste. Whether you’re repainting, reupholstering, or repurposing, here are five easy methods to transform your thrift store finds into unique, functional items:
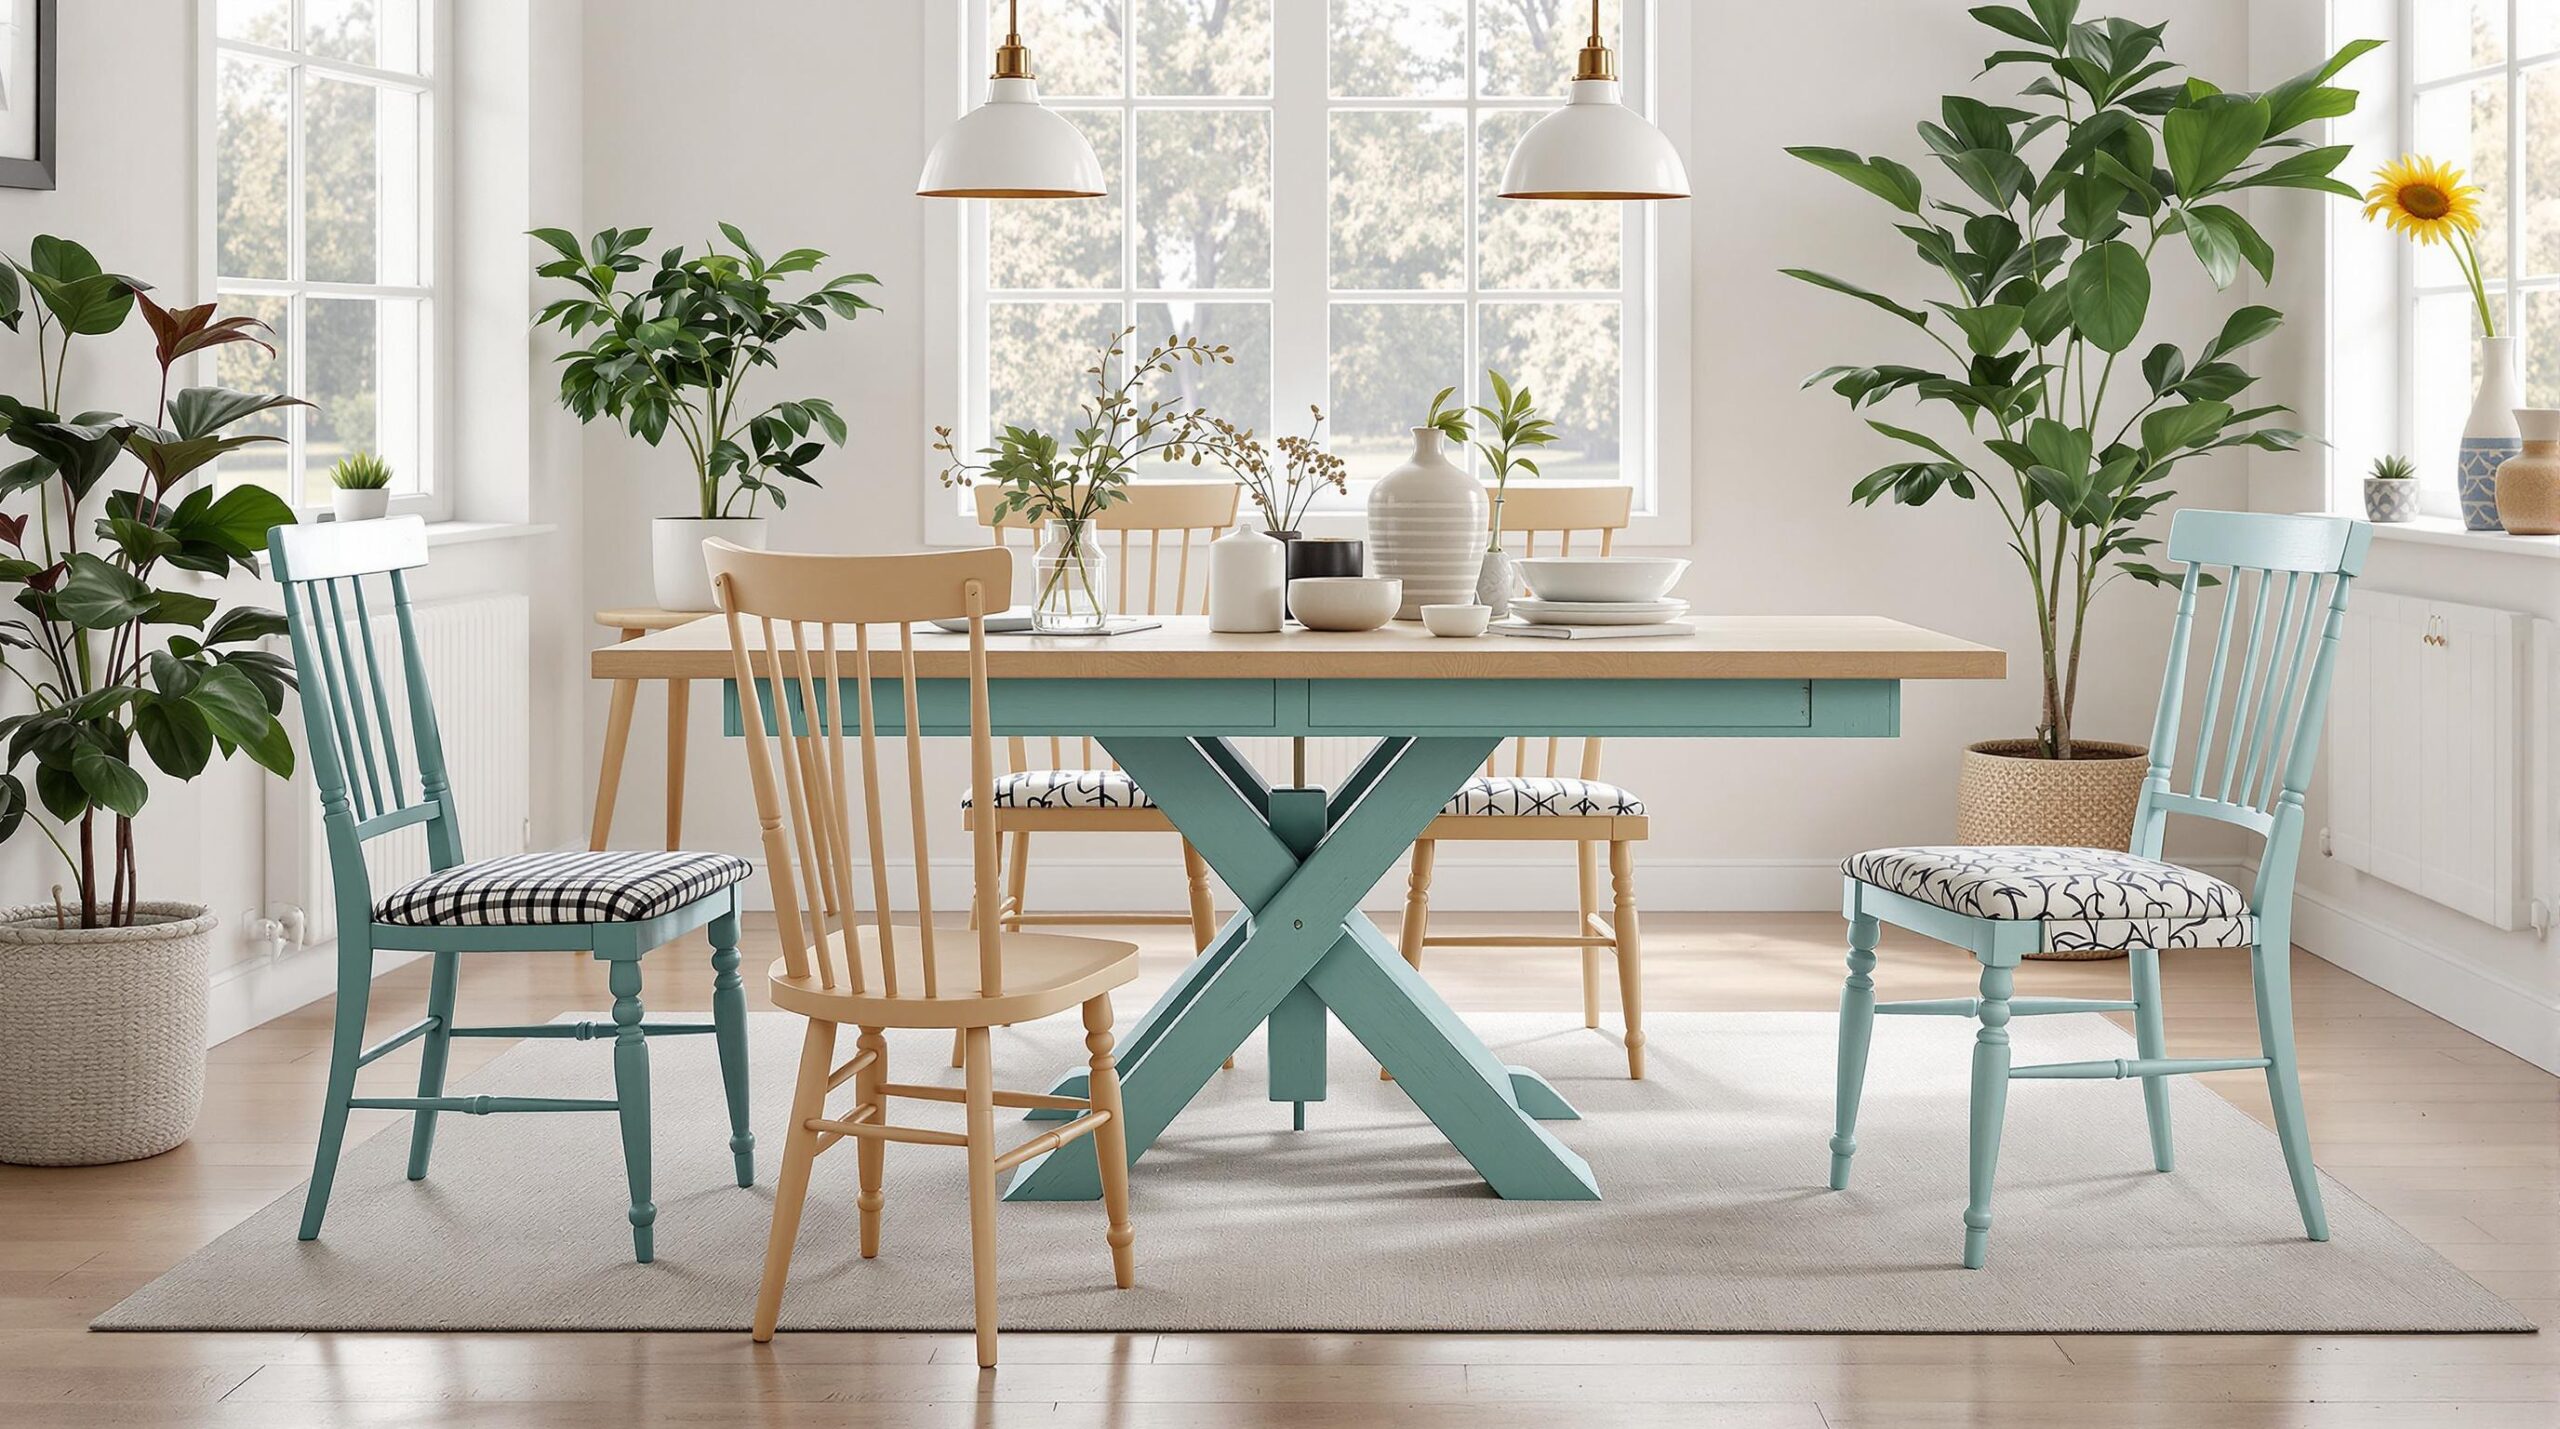
- Paint and Finish Updates: A fresh coat of paint can completely change the look of furniture. Use techniques like distressing, two-tone effects, or dry brushing for added style.
- New Upholstery: Replace worn-out fabric to revive chairs, sofas, or cushions. Choose durable materials like cotton blends or leather for long-lasting results.
- Hardware Updates: Swap out knobs, pulls, or legs to modernize your furniture. Get creative with repurposed materials or alternative hardware for a custom touch.
- Function Changes: Turn old furniture into something new, like converting a dresser into a kitchen island or a desk into a mobile workstation.
- Basic Wood Restoration: Sand and refinish wooden furniture to restore its natural beauty. Seal with wax or polyurethane for protection.
Quick Overview
| Method | Skill Level | Cost Range (USD) | Time Required | Best For |
|---|---|---|---|---|
| Repainting/Finishing | Moderate | $25–$75 | 1–3 days | Wooden furniture, bold looks |
| Reupholstering | Advanced | $50–$150 | 2–5 days | Chairs, sofas, fabric pieces |
| Hardware/Accent Changes | Beginner | $10–$50 | 1–2 hours | Quick updates, small details |
| Repurposing | Advanced | $50–$200 | 3–7 days | Creative, multi-use designs |
| Natural Restoration | Moderate | $30–$100 | 2–4 days | Rustic, simple aesthetics |
These methods not only help you personalize your space but also support sustainable living by reducing landfill waste. Start your upcycling journey at local thrift stores, like City Thrift, where every purchase supports community programs and makes a positive impact.
Getting Ready to Upcycle
Start your upcycling journey by picking solid, budget-friendly items from any of City Thrift’s five Greater KC locations. Every purchase supports City Union Mission. When searching for the perfect project piece, prioritize:
- Solid construction with little to no wobbling
- Fully functional drawers and doors
- Removable parts like cushions or shelves for easier transport and upgrades
How to Check and Clean Furniture
Before diving in, inspect your furniture thoroughly. Test the joints, drawers, and hinges to ensure everything operates smoothly. Once you’re satisfied, follow these cleaning steps:
- Use a vacuum to clean out crevices, drawers, and hidden spots.
- Mix a cleaning solution: 4 cups warm water, ½ cup white vinegar, ½ teaspoon dish soap, and 10 drops of lemon oil. Wipe the piece down with a damp microfiber cloth.
- Let it air-dry outside. If any odors persist, sprinkle baking soda over the surface or apply an odor-blocking primer.
Once your furniture is inspected, cleaned, and prepped, gather your tools and get ready to refresh it with paint.
Required Tools and Supplies
Here’s what you’ll need to get started: a vacuum, microfiber cloths, white vinegar, dish soap, lemon oil, and odor-blocking primer. With these essentials in hand, you’re ready for the next step: painting and finishing your piece.
Let’s dive into Method 1: Paint and Finish Updates.
Method 1: Paint and Finish Updates
A new coat of paint and the right finish can completely transform second-hand furniture while adding years of protection.
Steps for Painting
Choose acrylic paint for wood, metal, and plastic surfaces, and opt for latex paint on unfinished wood. Follow these steps for the best results:
- Prepare the Surface
Sand down any rough areas and wipe away dust with a tack cloth to ensure a smooth base. - Apply Primer
Select a primer suited to your furniture’s material. Apply thin, even coats, and let each layer dry completely before moving on. - Apply Paint
Use light, even strokes, following the direction of the grain. Allow each coat to dry thoroughly before adding another.
Adding Unique Paint Effects
Want a more creative touch? Try these techniques:
- Distressing
Sand areas like edges and handles to create a naturally worn look. Start with light pressure in a hidden spot to perfect your technique. - Two-Tone Effect
Apply petroleum jelly to spots where you want the base color to peek through. Paint a contrasting color over the top, then sand the jelly-coated areas to reveal the base layer. - Dry Brushing
Use a dry brush with a small amount of paint to lightly sweep over the surface, creating depth and texture. This works especially well on vertical surfaces.
When sanding, be gentle to avoid damaging delicate edges.
Choosing Non-Toxic Paints
Consider these safer options:
- Chalky Paint: Ideal for achieving a matte, vintage look with minimal prep work.
- Water-Based Acrylics: Great for strong coverage and easy cleanup.
Always pair your sealer with the type of paint you use – water-based sealers for water-based paints, and oil-based sealers for oil-based paints.
For added durability, finish with a polyurethane sealer once the paint is fully cured. This layer helps protect your furniture from daily wear while keeping its refreshed look intact.
Next, check out Method 2 to give furniture a new life with updated upholstery.
Method 2: New Upholstery Basics
After a fresh coat of paint, reupholstering can bring comfort and style back to worn-out furniture. It’s a great way to transform second-hand pieces into standout items. While this process requires some precision, the results can look professional and polished.
Upholstery Replacement Steps
Here’s how to tackle a DIY reupholstery project:
- Remove Old Fabric
Use a screwdriver or a butter knife to take out staples and tacks. Keep the old fabric intact to use as a pattern. - Clean and Prepare
Vacuum the furniture frame thoroughly. For cushions and foam, spray fabric cleaner to freshen them up. - Apply New Materials
- Add batting or foam where needed for extra comfort.
- Use the old fabric as a template to cut your new material.
- Start stapling the new fabric at the center of each side, working outward for an even finish.
- Fold and tuck corners neatly for a clean look.
Fabric Selection Guide
Pick your upholstery fabric based on how and where the furniture will be used. Here’s a quick breakdown:
| Fabric Type | Best For | Durability | Maintenance |
|---|---|---|---|
| Cotton Blends | Everyday seating | High | Use a stain-resistant finish |
| Leather | Homes with kids or pets | Very high | Wipe clean with a damp cloth |
| Polyester | Budget-friendly projects | Medium-high | Easy to maintain |
| Linen | Adult-only spaces | Medium | Handle carefully to avoid wrinkles |
Tools & Extras
To make your reupholstery project smoother, consider having these on hand:
- A pneumatic or electric stapler
- Upholstery needles
- Sharp scissors
- Fabric piping for clean edges
- Zippers for removable covers
- Decorative buttons or trim for added flair
Next, take your piece to the next level with Method 3: Hardware Updates.
Method 3: Hardware Updates
Once you’ve refreshed furniture with paint or new upholstery, updating the hardware is a great way to complete the transformation. Small details like knobs, pulls, and legs can make a big difference in giving older pieces a more modern and stylish look.
New Knobs and Pulls
Swapping out old knobs and pulls is a quick and effective way to give furniture a fresh appearance.
“The style of knobs dictates the feel of any furniture makeover.” – Kathy Owen, founder of Petticoat Junktion
Here are a few tips to get started:
- Measure the center-to-center distance of existing holes.
- If needed, fill old holes with putty, sand the surface smooth, and drill new ones.
- Choose new pulls that can cover any marks left by the old hardware.
Unique Pull Designs
You don’t have to stick to traditional hardware. Get creative by customizing existing pieces or repurposing everyday items:
| Technique | Materials Needed | Effect |
|---|---|---|
| Color Change | Alcohol ink, spray paint, gilt cream | Update existing hardware without replacing it. |
| Repurposed Items | Old belts, bracelets, rings | Add a personalized, upscale touch. |
| Alternative Hardware | Shower hooks, dock cleats, valve wheels | Introduce an industrial or nautical vibe. |
Leg and Wheel Updates
Changing out the legs or adding casters can completely transform the functionality and appearance of a piece.
Adjusting Height
- Install bun feet to add height.
- Use hairpin legs for a sleek, modern look.
- Add casters to improve mobility.
Updating Style
- Replace skirts with tapered legs for a cleaner design.
- Attach decorative moldings for added character.
- Dip the ends of the legs in metallic paint to create the look of caps.
Ready to take it further? In Method 4, we’ll look at how to repurpose your newly styled furniture for entirely new uses.
Method 4: Function Changes
Give furniture a new purpose to extend its life, save space, and reduce waste. Start with pieces from your local City Thrift. After updating hardware, focus on transforming them for entirely new uses.
Turn a Dresser into a Kitchen Island
- Adjust the height to the standard 36-inch counter level by reinforcing it with 1×4 boards.
- Update the surface by replacing the top with materials like butcher block, marble, or hardwood.
- Add finishing touches like customized edges or built-in storage features to suit your needs.
Space-Saving Conversions
| Original Feature | Conversion Steps | Final Result |
|---|---|---|
| Standard Height | Trim the legs and attach the table-leg top plates | Counter-height workspace |
| Add Storage Drawers | Install drawer units | Organized desk space |
| Mobility | Add casters | Mobile workstation |
Fresh Ideas for New Uses
- Kitchen Island Add-Ons
Include hooks for utensils, side towel racks, open shelving for pots, or even a chalkboard panel. - Desk Transformations
Ensure there’s enough legroom and select units with top drawers for built-in storage.
Next up: Method 5, where we’ll cover Basic Wood Restoration.
Method 5: Basic Wood Restoration
Wood Finishing Steps
| Step | Action | Purpose |
|---|---|---|
| 1. Coarse Sanding | Use 80-grit sandpaper | Remove the old finish |
| 2. Progressive Sanding | Move to 120-grit, then 320-grit | Smooth the surface |
| 3. Detail Sanding | Hand sand edges and crevices | Reach tricky areas |
| 4. Surface Cleaning | Use a household cleaner | Eliminate sanding dust |
| 5. Protection | Apply thin coats of wax, oil, or polyurethane | Seal and safeguard |
Working with Natural Wood
When you strip old finishes, the raw wood becomes vulnerable to moisture and cracking. To prevent damage, always seal it with wax, oil, or clear polyurethane after sanding. For the best results, sand along the wood grain, leave some stain in grooves for added depth, and test finishes on hidden areas before applying. Finish the process with thin, even coats of a protective sealant.
Essential tools for this method include: an electric sander with assorted sandpaper grits, a sanding block, wood filler, a putty knife, clean rags, gloves, a mask, and safety glasses.
Once you’ve restored the natural wood, check out the comparison chart to find the best method for your next project.
Method Comparison Guide
Compare different upcycling methods based on skill level, cost, time, and ideal projects.
Method Comparison Table
| Method | Skill Level | Cost Range (USD) | Time Required | Best For |
|---|---|---|---|---|
| Repainting/Finishing | Moderate | $25–$75 | 1–3 days | Wooden furniture, bold finishes |
| Reupholstering | Advanced | $50–$150 | 2–5 days | Chairs, sofas, padded pieces |
| Hardware/Accent Changes | Beginner | $10–$50 | 1–2 hours | Quick updates, functional items |
| Repurposing | Advanced | $50–$200 | 3–7 days | Creative, multi-use designs |
| Natural Restoration | Moderate | $30–$100 | 2–4 days | Rustic, simple aesthetics |
Choose the method that fits your furniture’s condition and your vision. By upcycling, you’re not only refreshing your home but also contributing to City Thrift’s efforts to cut down on waste.
Making a Difference
Why does choosing upcycled furniture matter? Here’s what sets it apart:
At City Thrift, buying second-hand furniture helps reduce landfill waste, saves resources, and promotes smarter consumption. Your decision has a ripple effect in three key areas:
- Environmental Impact
- Cuts down on resource use
- Lowers pollution linked to manufacturing
- Encourages a circular economy by keeping items in use longer
- Extends the lifespan of furniture already in existence
- Community Impact
Proceeds from City Thrift’s Kansas City–area stores go directly to support City Union Mission’s programs, which assist individuals facing homelessness. - Personal Impact
- Opt for sturdy, locally sourced items to reduce carbon emissions.
- Donate items you no longer need to ensure they find a new purpose.
Next Steps: Visit City Thrift
Ready to bring your upcycling ideas to life? Start your journey at City Thrift! Their Kansas City–area stores are designed to make finding the perfect piece a breeze. With clean, well-lit spaces organized by department, size, and color, you’ll easily discover solid, gently used furniture for your next creative project.
Tips for Smart Shopping:
- Look for furniture that fits your space and style needs.
- Check for sturdy frames and secure joints to ensure durability.
- Inspect removable parts for easy transport and potential upgrades.
Every purchase at City Thrift supports City Union Mission’s efforts to tackle homelessness and poverty in the Kansas City area. Stop by any location and find the ideal piece to kickstart your upcycling project!
City Thrift stores are organized by department, product category, size, and color.
Proceeds from City Thrift benefit City Union Mission’s programs in the Kansas City area.


Leave A Comment